400 Series gliding windows use a bulb-type weatherstrip on the window sash. This bulb-type weatherstrip is applied to the stiles (vertical edges) and rails (horizontal edges) of the window sash. If you need assistance identifying your Andersen® products, visit our Identify Your Product  pathway in the Andersen® Window and Door Help Center.
To order the weatherstrip, the window size and exterior color are required.
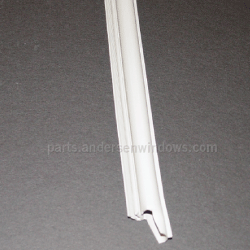
Side Stile Weatherstrip
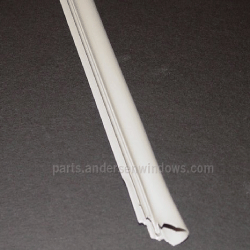
Rail weatherstrip
Installation

Tools/Supplies Needed
- Safety Glasses
- Stile or Rail Bulb Weatherstrip
- Needle Nose Pliers
- Mild Soapy Water
- Soft, Dry Cloth
To install the replacement weatherstrip, the sash will need to be removed from the frame. Please follow the sash removal instructions in Sash Replacement Instructions for 400 Series Gliding Windows.
Once the sash is removed, remove the meeting stile cover. See Lock Mechanism Replacement Instructions for 400 Series Gliding Windows.
Using needle nose pliers, remove the original weatherstrip from the window sash, keeping the corner foam weatherstrip for later usage.
Clean the channel using mild soapy water and a soft, dry cloth to remove any dirt or debris.
Firmly press new weatherstrip into place.
Reinsert the corner foam weatherstrip, see Corner Foam Weatherstrip for 400 Series Gliding Windows.
Reinstall the sash by reversing the process.
©2026 Andersen Corporation. All rights reserved.