If your Andersen® 200 Series or 400 Series gliding patio door was manufactured between 1978 to 1993, the deadlock is outdated and can be replaced with a more current reachout lock and receiver model. The reachout lock hooks into the receiver, securing the door shut, when the lock is engaged.
How to Replace Old Locks on Andersen® 200 and 400 Series Gliding Patio Doors
This article will help you replace and update the vintage deadlock to the current lock system that uses a reachout lock and receiver. Links to order the replacement hardware and installation guides can be found below.
Note: If you're unsure whether you should replace your lock mechanism or aren't sure when your patio door was manufactured, see Identify Glass Type on Andersen® Windows and Patio Doors. That article will provide instructions to determine your patio door's vintage or manufacturing date.
This Article Will Help You:
- Order a replacement lock kit.
- Replace Vintage Locks.
Tools and Supplies Needed
- A replacement lock, see ordering information below
- See the installation guides below for necessary tools or supplies you need.
Let's Get Started
1. Order A Replacement Lock Kit
Depending on the size of your gliding patio door, select the correct part below.
|
If your patio door has two panels, your replacement part is the 2-Panel Reachout Lock and Receiver 
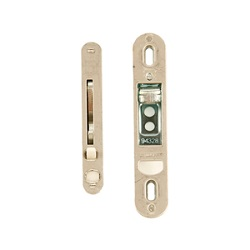
An Andersen® 2-Panel Gliding Patio Door Reachout Lock and Receiver Kit
|
If your patio door has four panels, your replacement part is the 4-Panel Reachout Lock and Receiver
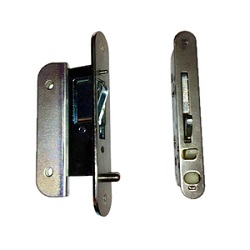
An Andersen® 4-Panel Gliding Patio Door Reachout Lock and Receiver Kit
|
2. Replace Your Vintage Locks
If the deadlock and receiver are replaced, it is recommended to replace all locking hardware with the current style.
Depending on the type of patio door you have, the replacement instructions can vary. Select the correct installation guide from below and follow its instructions.
©2026 Andersen Corporation. All rights reserved.