This article will help with 100 Series gliding patio door insect screen installation and adjustment, it provides step-by-step replacement instructions and a link to an adjustment article.
Andersen® 100 Series gliding patio door insect screen installation instructions can be found below. If you need assistance identifying your patio door Series, visit our Identify Your Product Guided Help Pathway  .
.
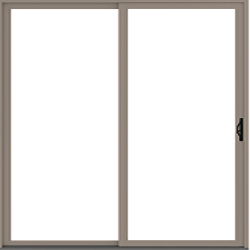
Andersen® 100 Series Gliding Patio Door
Replacement Parts
Please Contact Andersen® Windows and Doors to order.
Installation
Installing the Insect Screen: Place the insect screen on the door track by first inserting the head of the screen and then the bottom, ensuring the screen rolls smoothly.
Installing Screen Handles: Instructions can be found in Insect Screen Handle Replacement for 100 Series Gliding Patio Doors.
Aligning the Latch Receiver: Center the latch receiver (located on the patio door unit frame) to align with the insect screen frame. The top of the keeper should be level with the bottom edge of the lock bar when it is in the unlocked position. Reverse the insect screen if the latch does not align with the receiver.
Aligning the Latch Hardware: The Insect Screen Latch Receiver for 100 Series Gliding Patio Doors can help align the insect screen latch hardware. Follow the Adjust or Replace Rollers on Andersen® Gliding Patio Door Insect Screens to align the insect screen frame with the patio door.
Adjusting the Rollers: Please look at the 100 Series Gliding Insect Screen Roller Replacement & Adjustment Guide to add enough tension so the top rollers stay on the track.
Cleaning Instructions: Cleaning instructions can be found in the Clean Your Andersen® Insect Screen's Mesh and Frame article.
©2025 Andersen Corporation. All rights reserved.